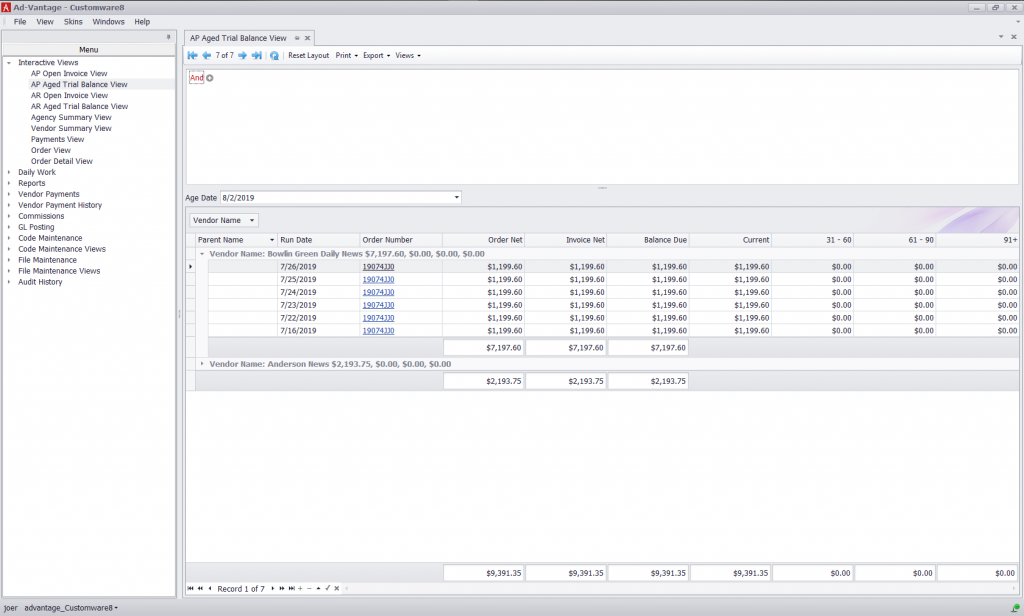
AP Aged Trial Balance – view information about AP Aged Trial Balance based on the criteria you select. You can select additional fields by right-clicking into the column header in the lower panel and selecting Column Chooser.
Ad-Vantage AP Aged Trial Balance View
/wp-content/uploads/2019/11/Ad-VantageLogo-300x138.png00tony/wp-content/uploads/2019/11/Ad-VantageLogo-300x138.pngtony2019-11-21 19:27:232019-11-21 19:27:25View – AP Aged Trial Balance
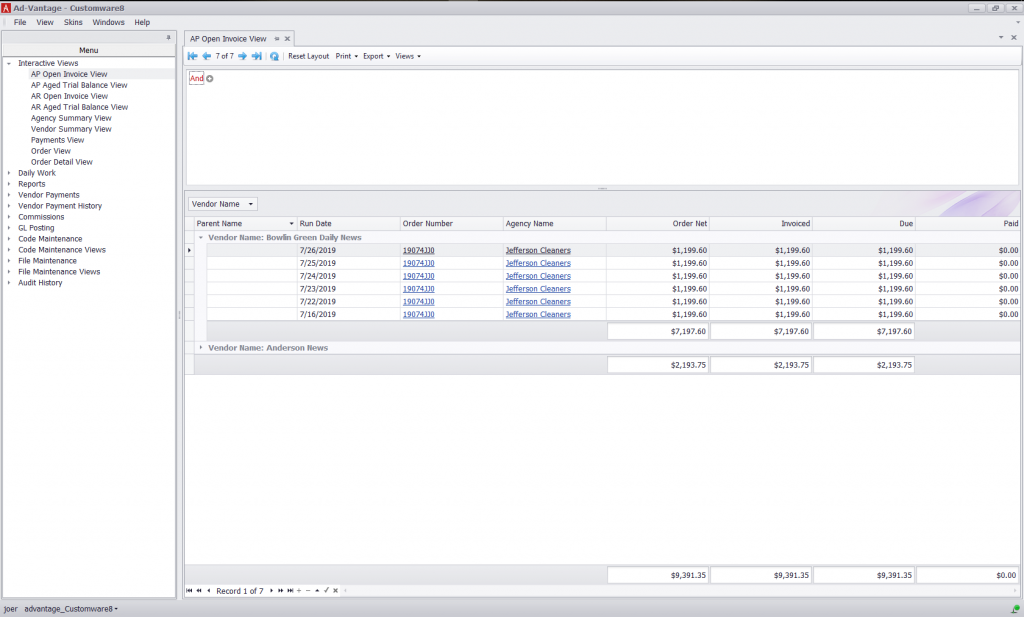
AP Open Invoice – view information about all open invoices based on the criteria you select. You can select additional fields by right-clicking into the column header in the lower panel and selecting Column Chooser.
Ad-Vantage AP Open Invoice View
/wp-content/uploads/2019/11/Ad-VantageLogo-300x138.png00tony/wp-content/uploads/2019/11/Ad-VantageLogo-300x138.pngtony2019-11-21 19:25:262019-11-21 19:25:28View – AP Open Invoice
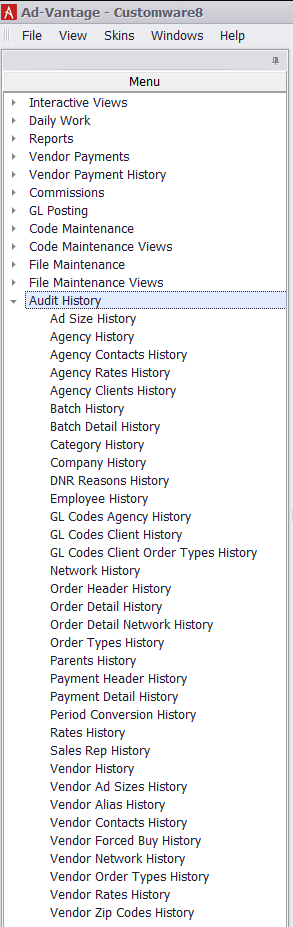
Ad-Vantage tracks every change made in the system, who made it, and when the change was made. File Maintenance/Audit History is where you will be able to run an Audit History interactive view to research the changes.
These interactive views work just like the other interactive views in the system aside from the fact that any changes to Ad-Vantage are highlighted in blue. Below is a sample of all the Audit History interactive views
Ad Size History
Agency History
Agency Contacts History
Agency Rates History
Agency Clients History
Batch History
Batch Detail History
Category History
Company History
DNR Reasons History
Employee History
GL Codes Agency History
GL Codes Client History
GL Codes Client Order Types History
Network History
Order Header History
Order Detail History
Order Detail Network History
Order Types History
Parents History
Payment Header History
Payment Detail History
Period Conversion History
Rates History
Sales Rep History
Vendor History
Vendor Ad Sizes History
Vendor Alias History
Vendor Contacts History
Vendor Forced Buy History
Vendor Network History
Vendor Order Types History
Vendor Rates History
Vendor Zip Codes History
/wp-content/uploads/2019/11/Ad-VantageLogo-300x138.png00tony/wp-content/uploads/2019/11/Ad-VantageLogo-300x138.pngtony2019-11-21 19:23:302019-11-21 19:23:32Audit History
Ad-Vantage has a powerful and flexible reporting section that allows its users to use the same tools for filtering that the Interactive Views use. The reports are broken down by specific functions within Ad-Vantage.
Interactive Views are highly configurable data screens that allow you to sort, group, and output the information according to your unique needs. By using interactive views, you can easily and quickly build and manipulate the view to display information in exactly the way you need it. Below is a list of the standard Interactive Views in Ad-Vantage.
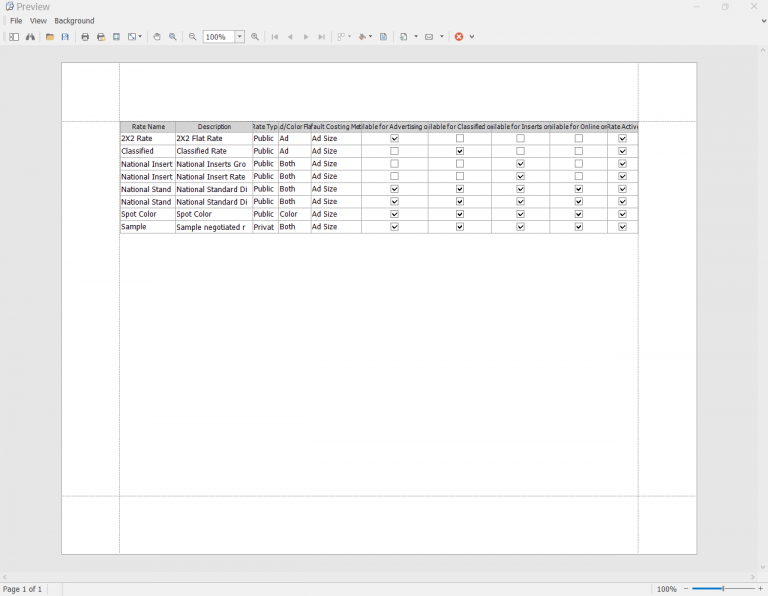
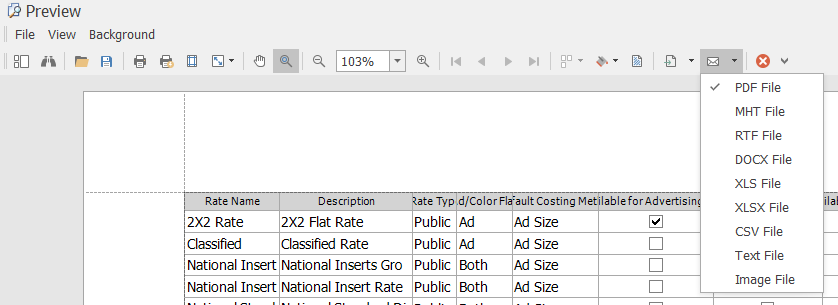
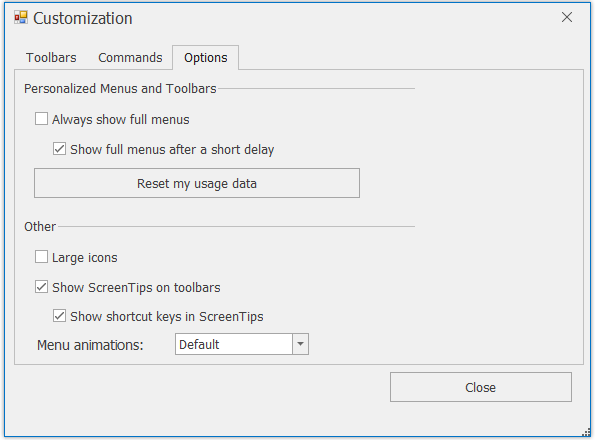
Print Preview in Ad-Vantage is a powerful tool that provides many options for printing, saving and sending documents.
Print Preview Screen
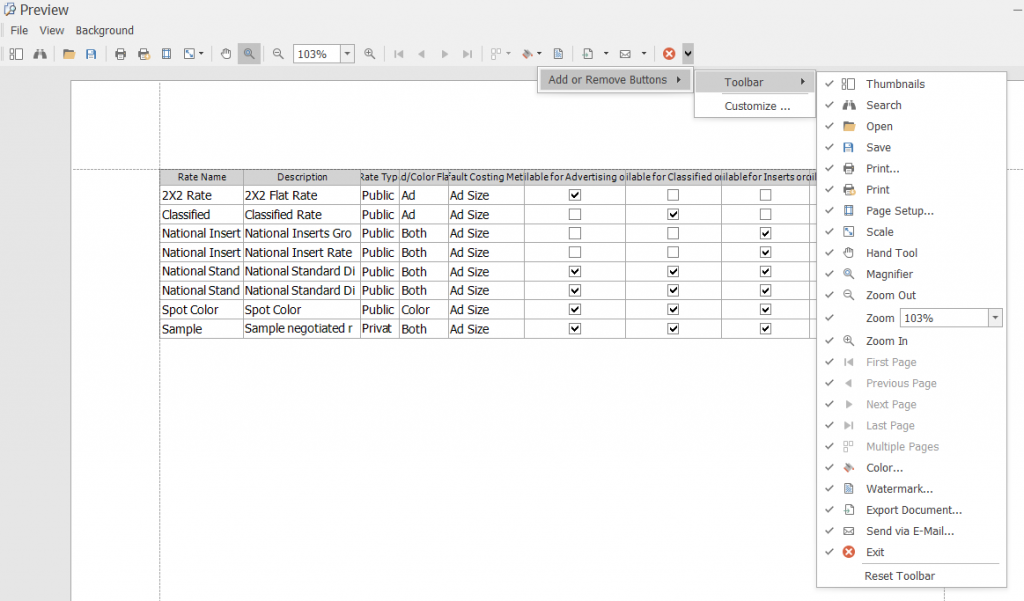
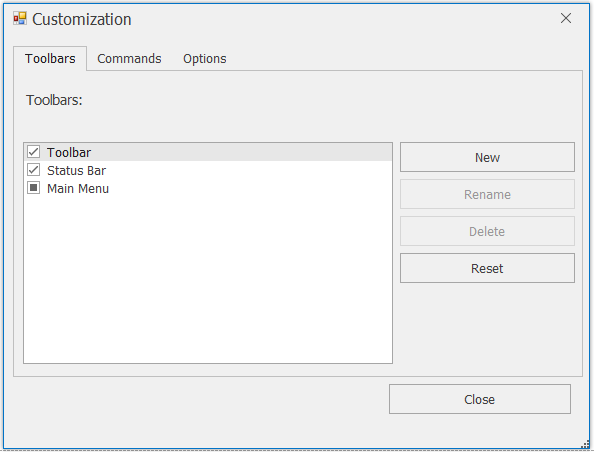
Print Preview Toolbar
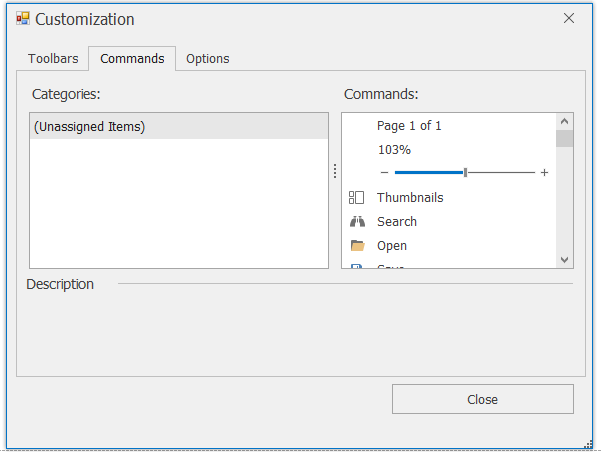
The Print Preview Toolbar can be customized to suit the user. Below are the default toolbar functions.
Print Preview Toolbar
Thumbnails view
Print Preview Thumbnail
The Thumbnails view allows you to see the pages in the preview and provides an easier way of selecting a page to view, print or save.
Search
Print Preview Search
If there are columns in the data grid that you do not need on the report, left click and move the column down until an X shows on the screen, then the column will be removed from the data grid
Open a Document
Print Preview Document Search
Use the Open a document tool to view a saved document in the native format .prnx files.
Save
Print Preview Save Document
Save the the document in the native format .prnx file.
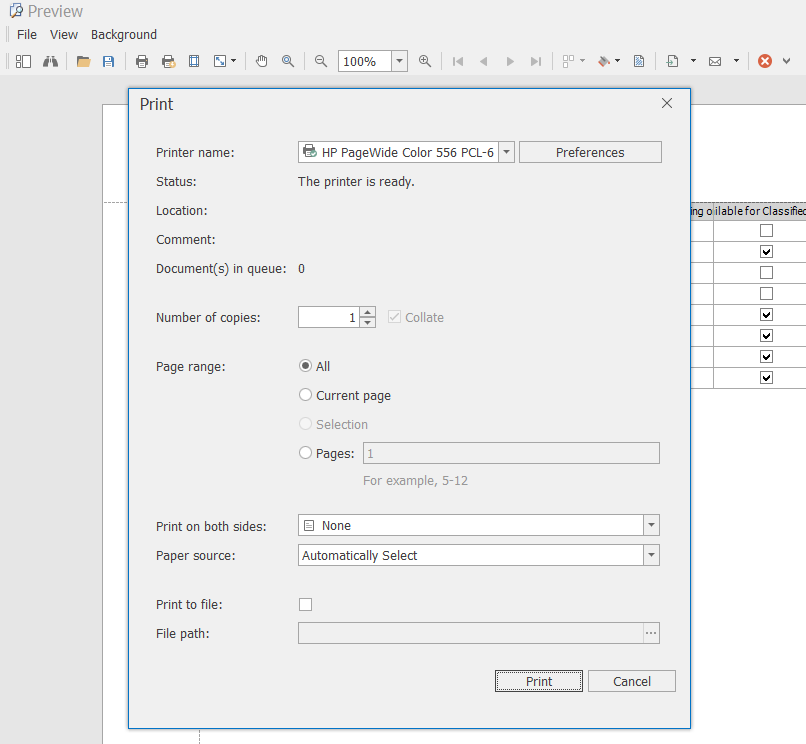
Print
Print Preview Print
The Print function opens your printing options screen, which allows you to choose your printer and options for printing.
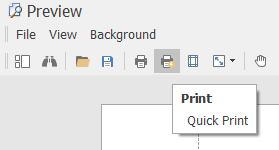
Quick Print
Print Preview Quick Print
The Quick Print sends the document to your default printer using the default settings for the printer.
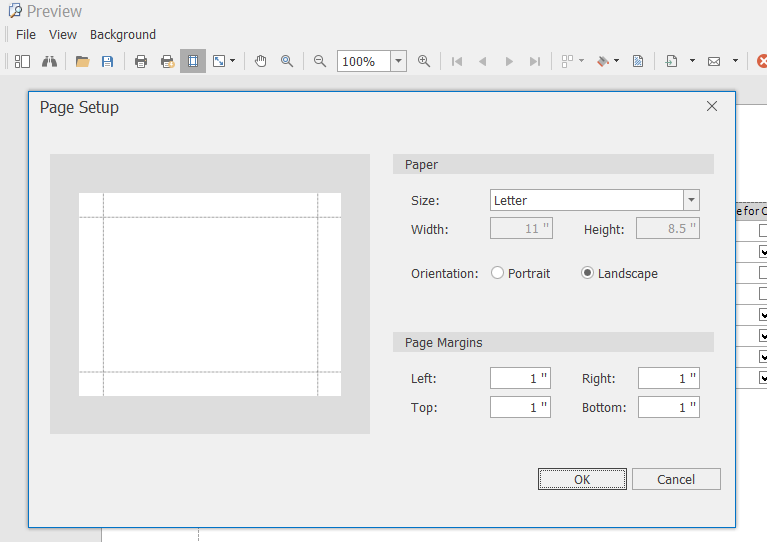
Page Setup
Print Preview Page Setup
Page Setup gives you the options to change the layout of your document paper size, orientation, and margins.
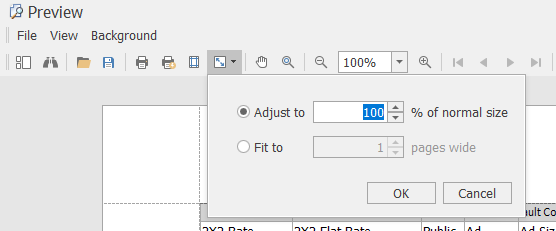
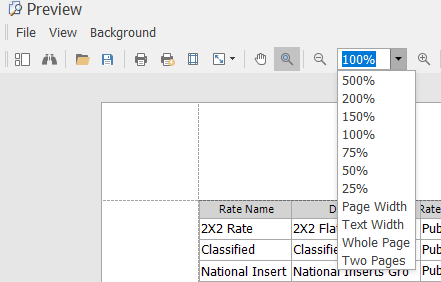
Scale
Print Preview Scale
Use the Scale function to scale the data in the document. You can adjust it by percentage or you can Fit to the page or pages. Note that it stays within the confines of the margins.
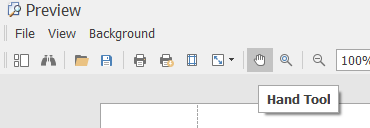
Hand Tool
Print Preview Export Doc image 2
Use the hand tool to adjust the margins on the page manually. Hold the hand on the margin line and it will allow you to move the margin lines in either direction.
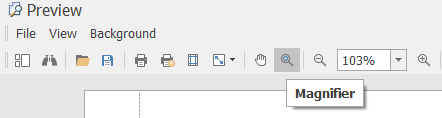
Magnifier
Print Preview Magnifier
When selected, the Magnifier lets you click the document and it will enlarge one size.
Zoom
Print Preview View Sizing
The Zoom Tool increases/decreases the viewing size of the document
Navigation Arrows
Print Preview Navigation Arrows
The Navigation Arrows are used to scroll through pages of the document being viewed.
Multiple Pages Display
Print Preview Multiple Pages
Multiple Pages allows you to select multiple pages to view on the screen at a time.
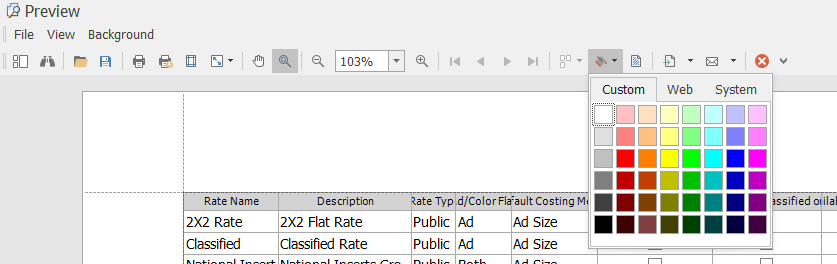
Color Background
Print Preview Color Background (1) Print Preview Color Background (2)
Use the Color Background to change the background color of the document.
The bottom section of the Interactive View screen is the Data Grid. It is where the results of your filtering are displayed. There are many functions, features and filters that can be applied in this area.
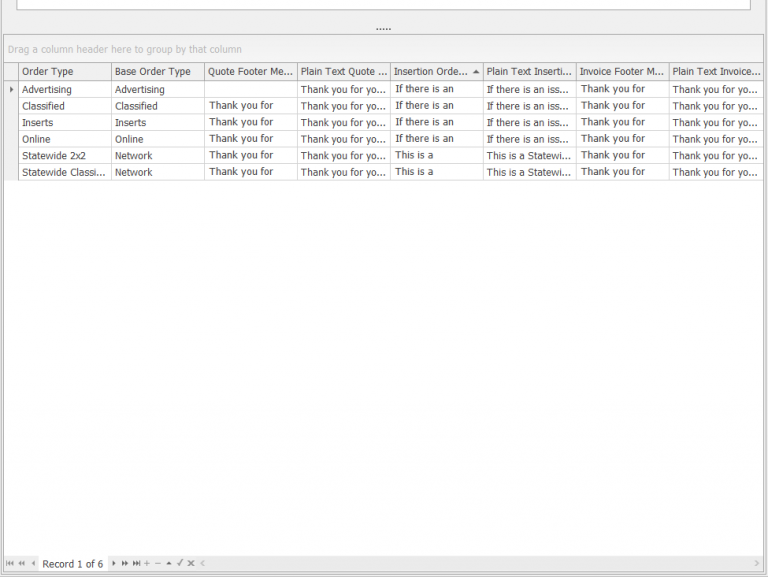
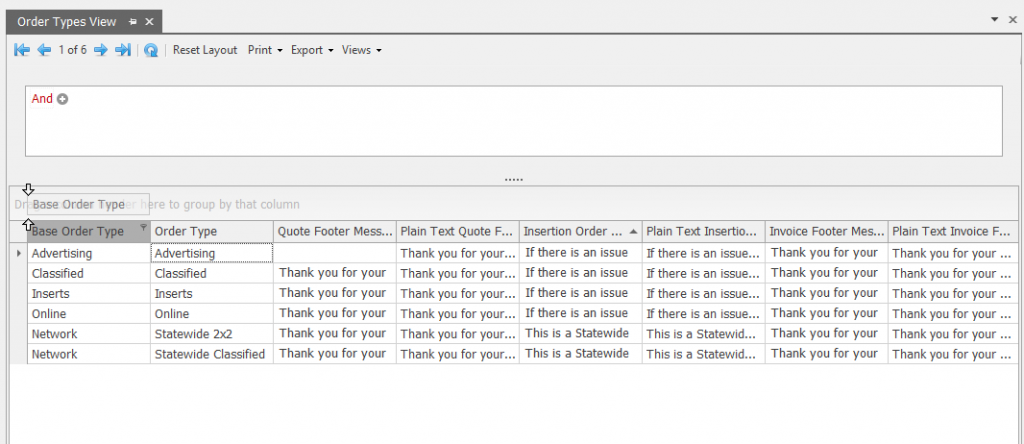
Group By Column Headers
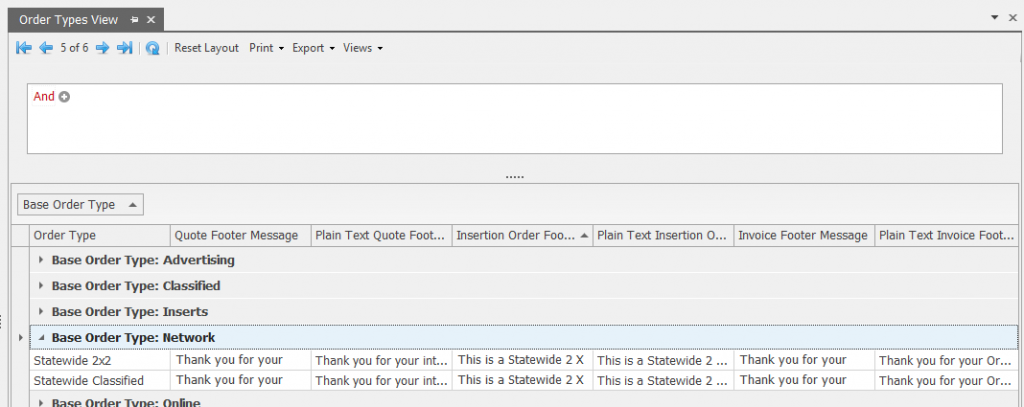
The area above the grid in the shaded area is where you can select a column or columns to sort the data grid. To select a column to group by, left click on the column header and drag it to the grouping area. Or you can right click on the data grid header and select Group By This Column in the drop-down tool bar.
Group By in Data Grid Group By in Data Grid (2)
Rearrange Columns
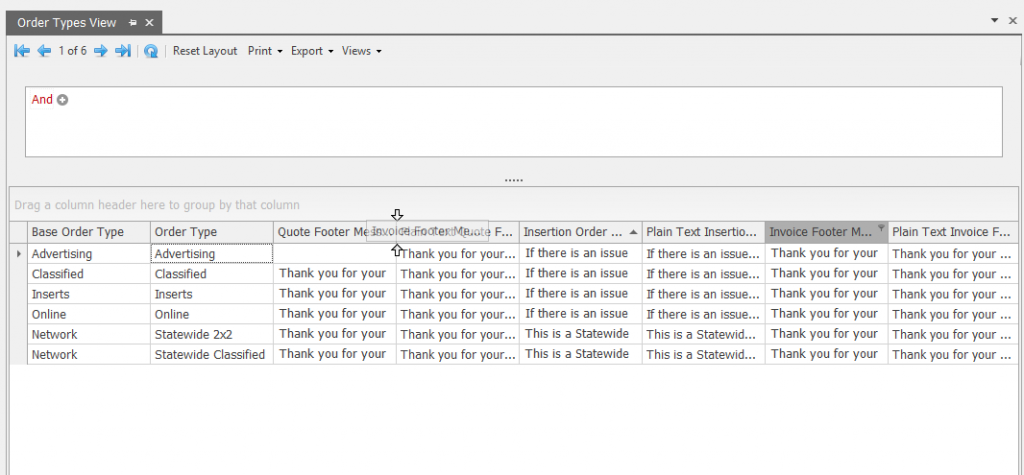
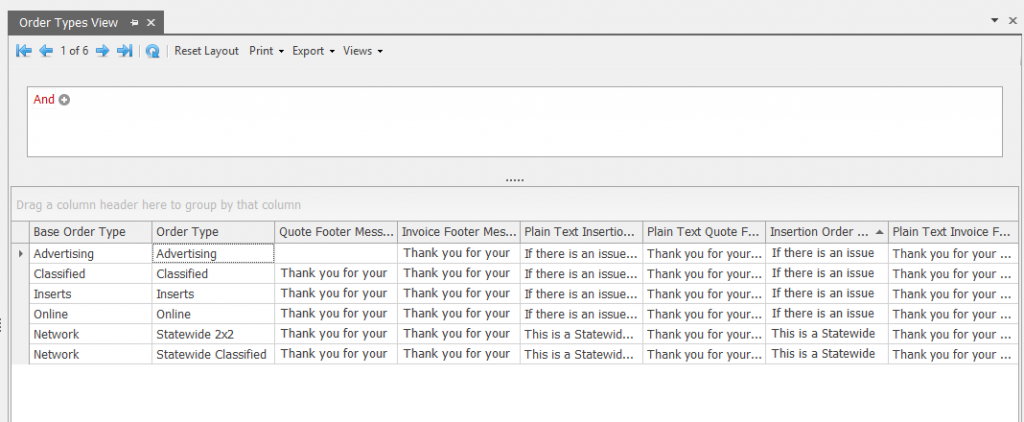
You can also move the columns around for a more efficient data grid view. Do this by left clicking on the column header and dragging it to a different location in the column header area.
Move Columns in Data Grid Move Columns in Data Grid (2)
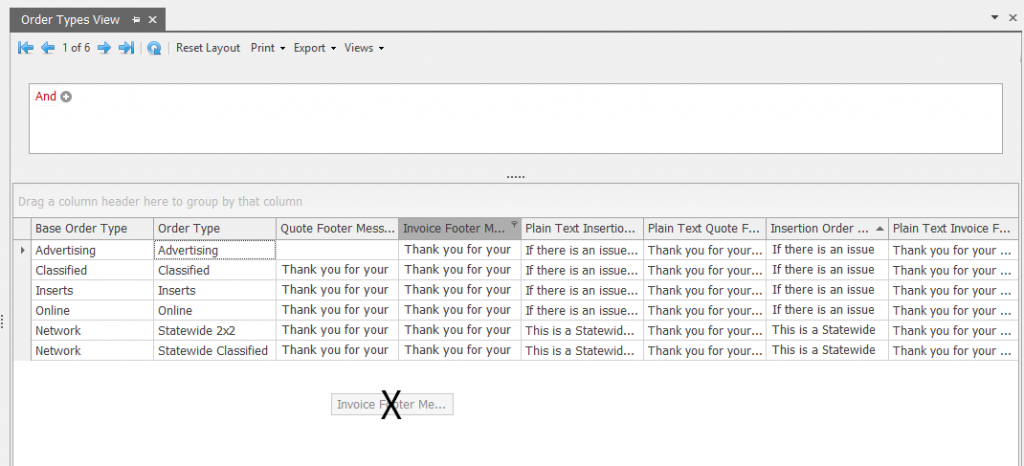
Remove Columns
If there are columns in the data grid that you do not need on the report, left click and move the column down until an X shows on the screen, then the column will be removed from the data grid
Remove Column from Data Grid
Total and Sub-Total
(Can’t do at this time, I need a View that has columns with numbers in it. which are currently broken)
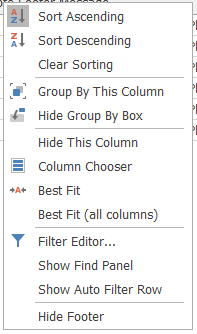
Data Grid Tools
Data Grid Tools
Sort Columns Ascending or Descending
You can right click on the column header for the header tool bar and select either Sort Ascending or Sort Descending to set the Sort Columns order.
Sort Column Ascending or Descending
Clear All Sorting
This will clear all the sorting that has occurred in the data grid.
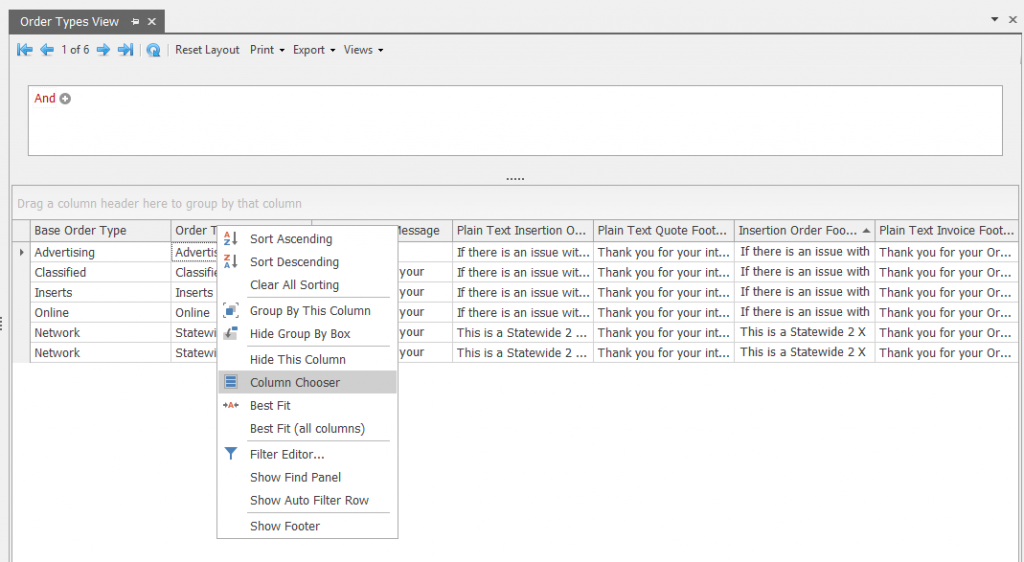
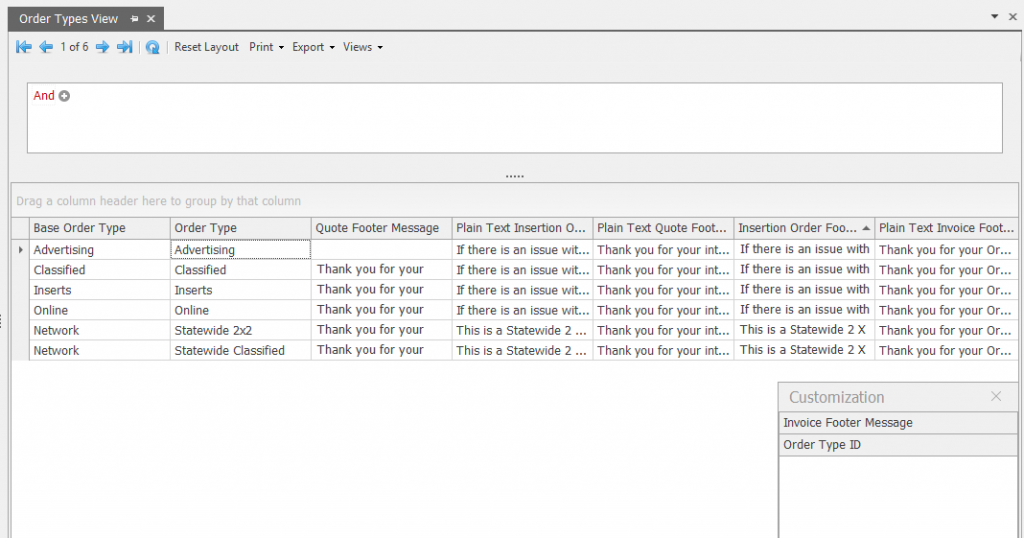
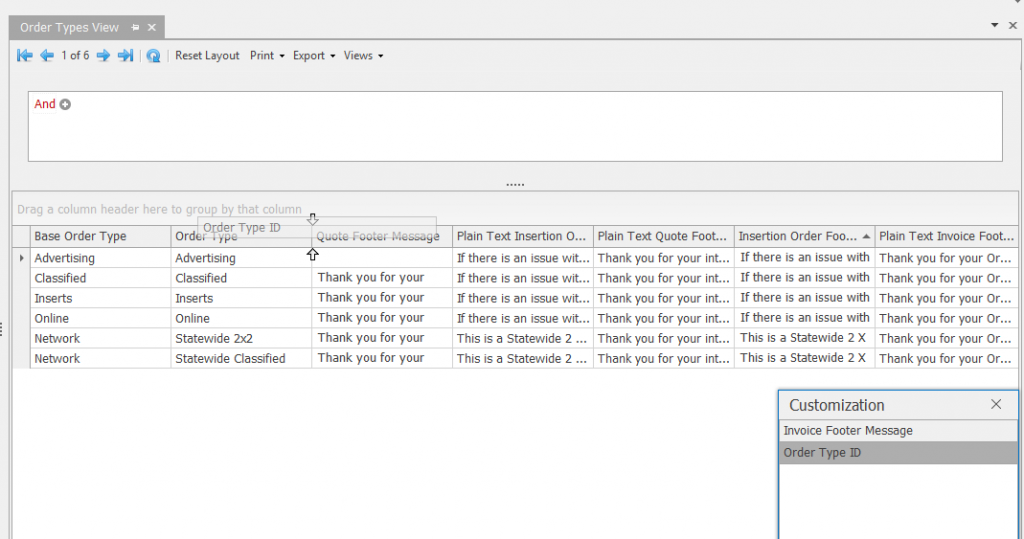
Add Columns
To add a column that is available for the data grid, right click on the grid header and select Column Chooser, then select the column that you want to add and drag it to the place where you want the new column.
Add Column to Data Grid Add Column to Data Grid (2) Add Column to Data Grid (3)
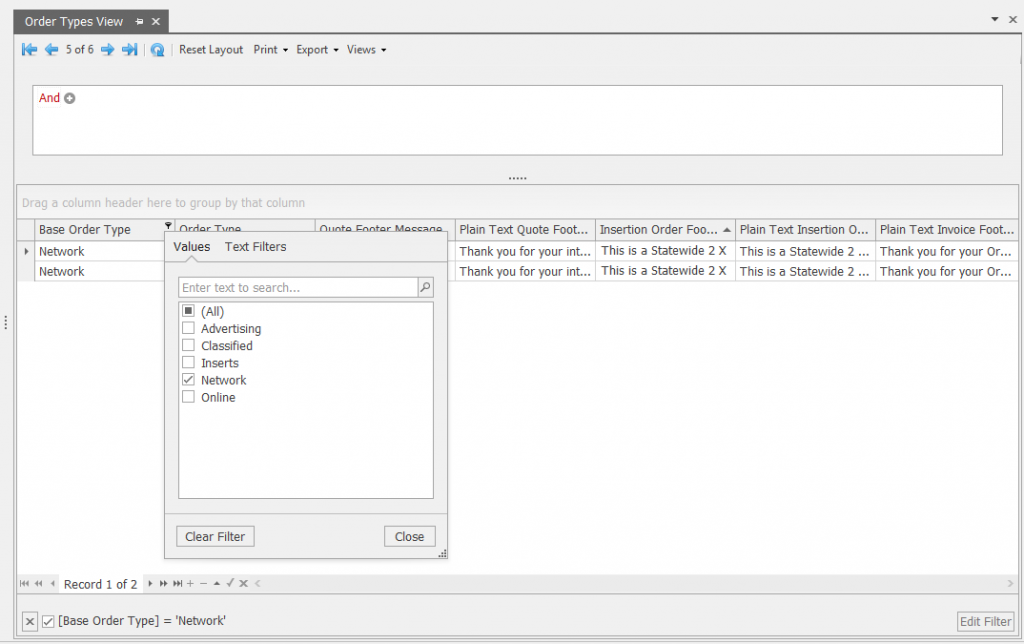
Filter Data Within Columns
Use this data filtering to filter the data grid by data within a certain column. Left click on the little filter image on the column header and then select the data you wish to select to filter.
Column Filtering
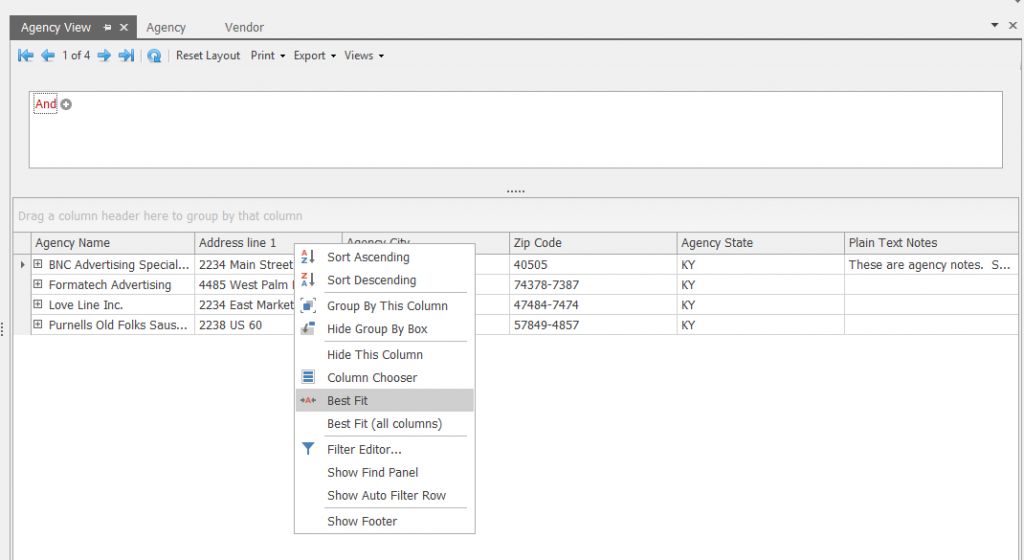
Best Fit
Right click on the column header for the header toolbar and select Best Fit and the system will fit the column in the data grid
Best Fit
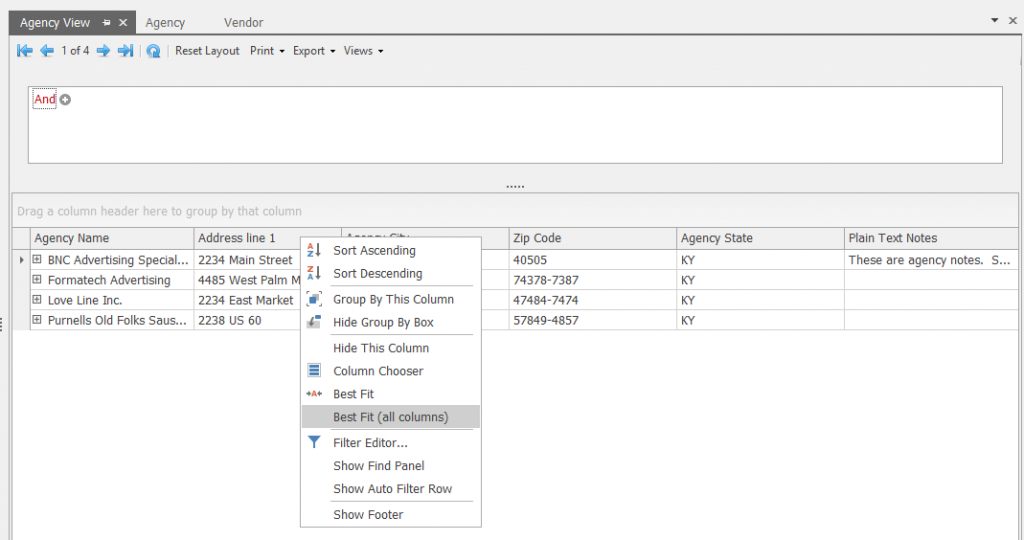
Best Fit All Columns
Right click on the column header for the header toolbar and select Best Fit (all columns). The system will attempt to best fit all columns in the data grid.
Best Fit All Columns
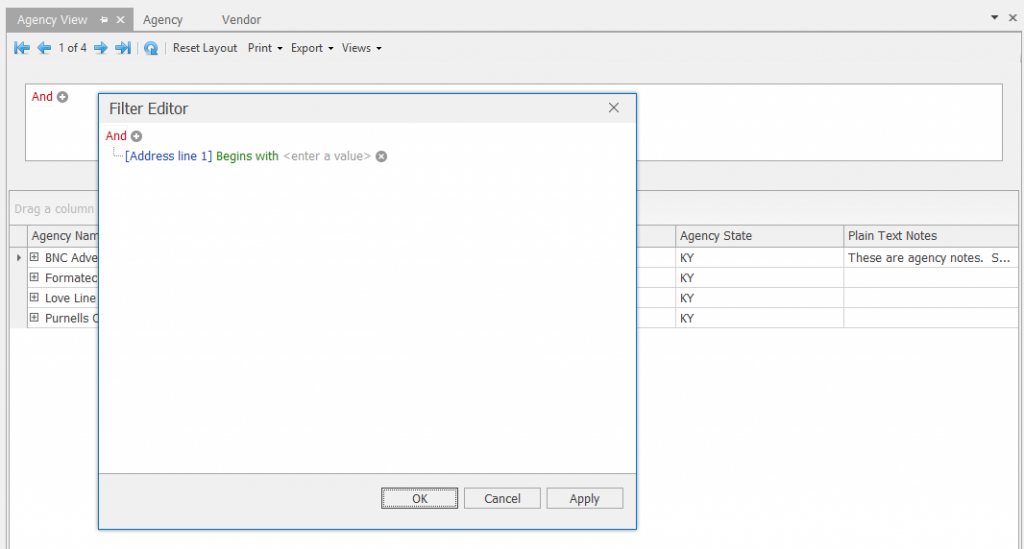
Filter Editor
The Filter Editor is a more precise method of filtering the data in the selected column. It works just like the filter section above only with the data specific to the column that you have selected.
Filter Editor
Show Find Panel
This opens the Find panel for the data grid. You can use it to search for anything within the data grid.
Show Find Panel
Show Auto Filter Row
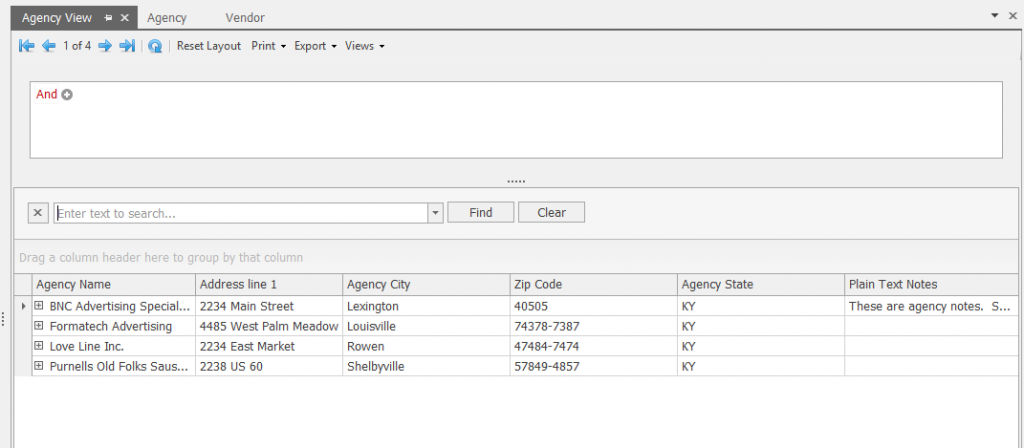
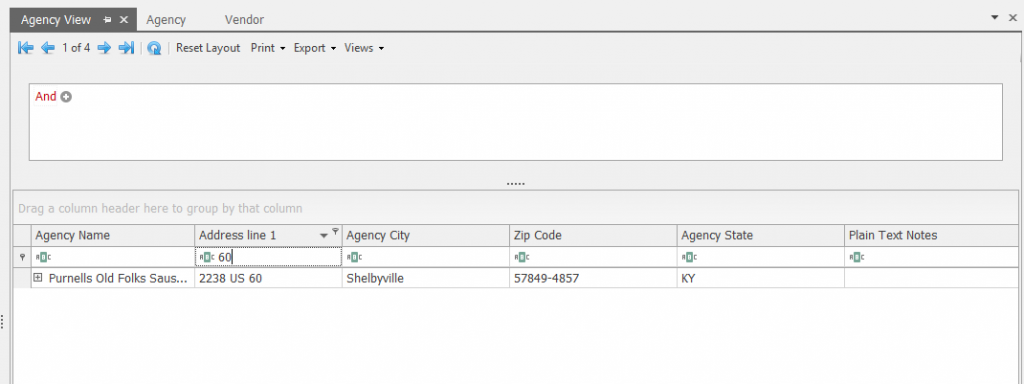
Show Auto Filter Row adds a filtering tool at the top of the columns of the data grid. The default filter type is “contains,” but you can click the contains icon to change it.
Auto Filter Row
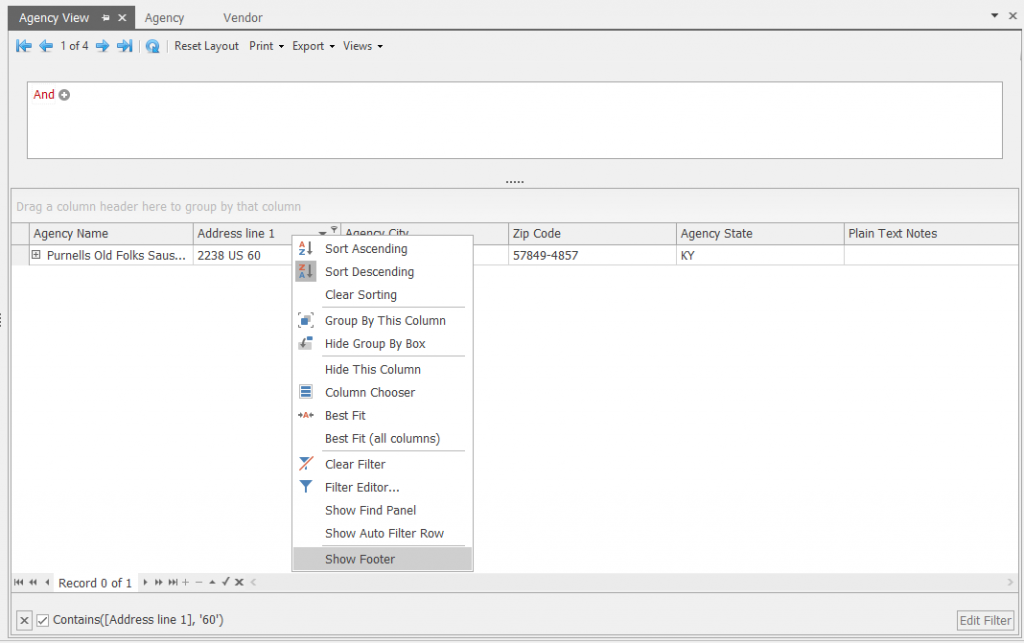
Show Footer
Show Footer displays the current data filters in the data grid. You can also click on the data filters in the footer to edit or delete the data filters.
Show Footer
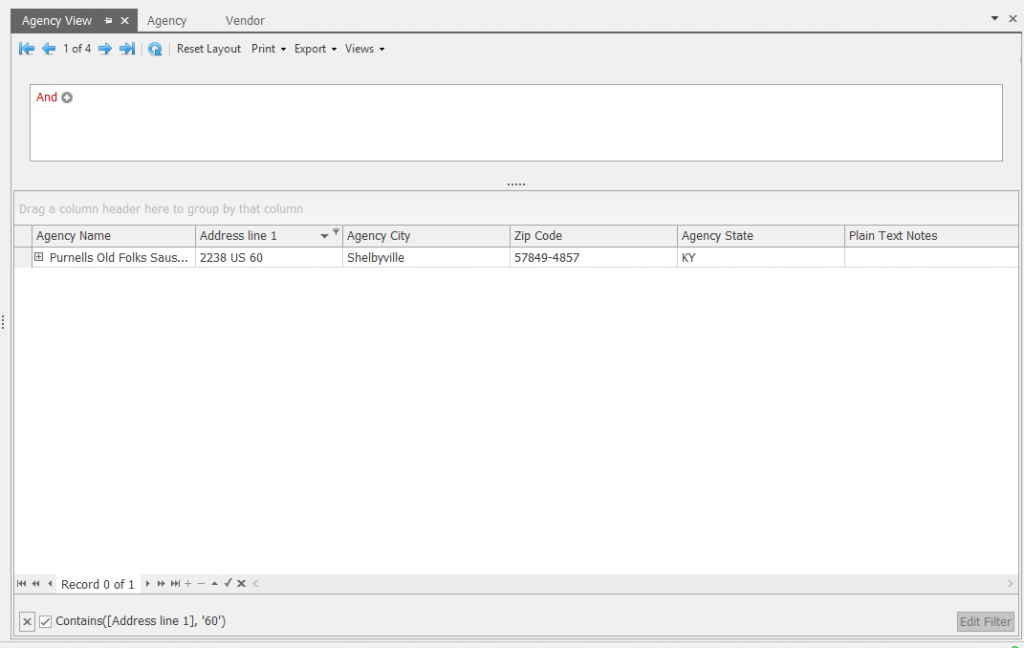
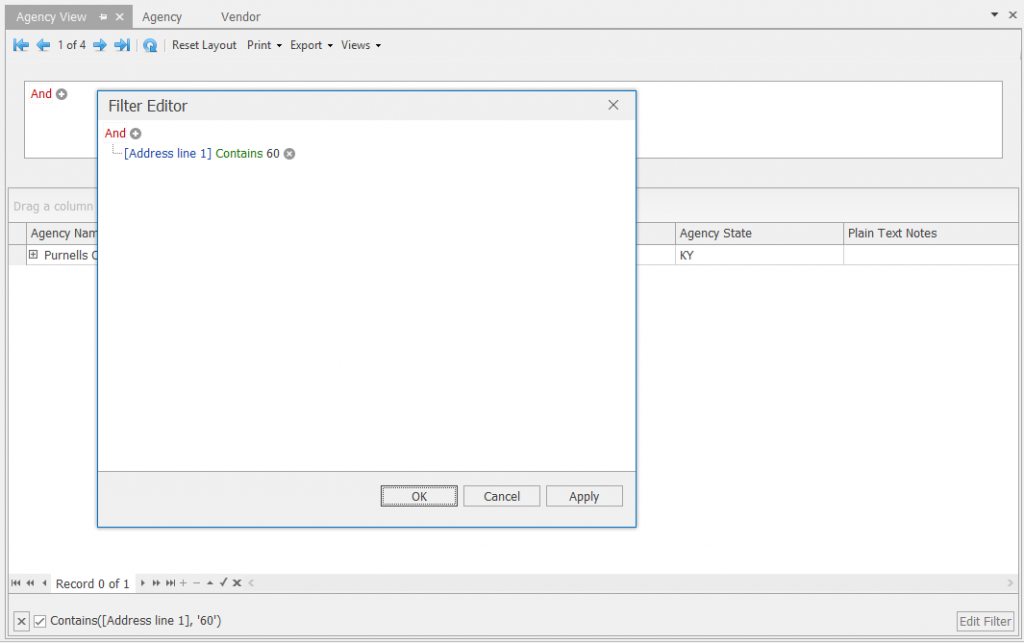
Edit Filter in Footer
Select the Edit Filter in the footer to edit the selected filter that is showing in the Footer. When selected, the Filter Editor box will displayed with the current filter, allowing you to edit that specific filter.
Primary Query Filter – You can use the Apply Filter function from interactive views and report pick screens to build a condition to filter the generated view or report.
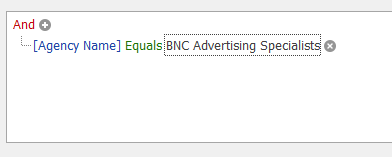
Each option within the condition appears as a different color to help distinguish it from the other options, Black Text [Blue Text] Green Text.
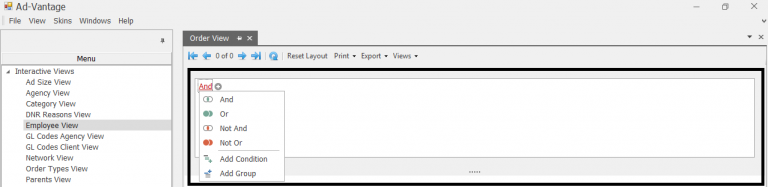
The instructions below illustrate how quickly and easily you can build a condition.
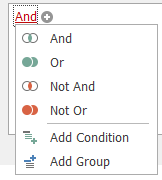
Select how you want to group or filter your values by selecting one of the following options. You can combine these groups and filters.
Primary Query Filter Grouping Options
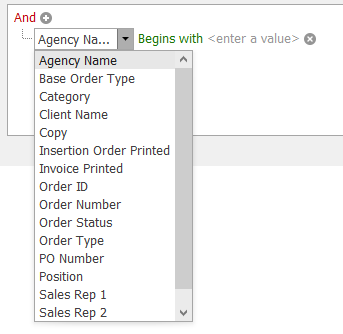
Select the + then select the filtering criteria. Each interactive view or report will have its own set of criteria based on the subject of the view or report. For example, Agency Name.
Primary Query Filter Select Options
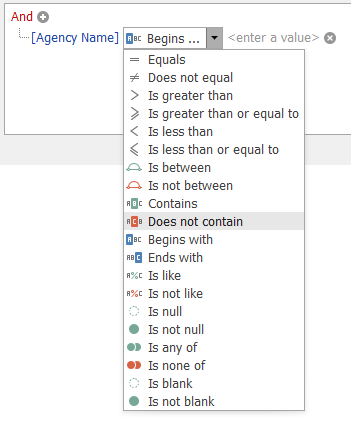
Now select how you are going to filter for Agency Names and then enter a value for the filter
Interactive Views are highly configurable data screens that allow you to sort, group, and output the information according to your unique needs. By using interactive views, you can easily and quickly build and manipulate the view to display information in exactly the way you need it.
Ad-Vantage Interactive Views are separated into three groups:
Interactive Views
Code Maintenance Views
File Maintenance Views
Interactive Views
These are general views that will give you information on your company status.
AP Open Invoices View
AP Aged Trial Balance View
AR Open Invoices View
AR Aged Trial Balance View
Vendor Summary View
Payments View
Order View
Order Detail View
Code Maintenance Views
These views are relative to the Code Maintenance area. They give you information related to the code information within the system.
Ad Size View
Category View
DNR Reasons View
Employee View
GL Codes Agency View
GL Codes Client View
Order Types View
Rates View
Sales Rep View
File Maintenance Views
These views are relative to the File Maintenance area. They give you information related to the data file information within the system.